The Fleet Installer functionality allows you to distribute and deploy TM Master v2 HotFixes across your fleet with minimal effort. The HotFixes are distributed using the same tried and tested replication functionality that keeps your fleet databases in sync, which means that the Fleet Installer benefits from the efficient and resilient data transfer technology that we have been developing and improving for decades. Once successfully transferred to each unit the TM Service will automatically and silently upgrade itself, and also place the TM Client HotFix file in the unit's System File Path so that all TM Clients connected to the database will trigger the HotFix installation on their next startup.
Please note that by default you can only use the Fleet Installer to upgrade to HotFixes within your database version. Please get in touch through support@teromarine.com if you want to use the fleet installer to upgrade to a different database version. Alternatively you can use the classic upgrade procedure. For more information on the TM Master v2 version standard please see https://support.teromarine.com/en-us/article/132-how-to-identify-the-database-version
Below you'll find a step by step guide on how to use the Fleet Installer.
Prerequisites
- The Fleet Installer functionality was introduced around March 2019. If you are currently running an older version of TM Master v2 and do not have the Fleet Installer functionality available then you need to perform a classic upgrade across your fleet in order to enable it. Please see this article for more information.
- Please note that in order for the TM Clients to be upgraded by users on startup of TM Master v2 those users must have the right to change files in Windows. If TM Master v2 is installed in the default directory (C:\Program Files (x86)\TM Software\TM Master v2) then the users also need the right to change files in system folders in Windows.
- The user rights required to access and use the Fleet Installer functionality can be found here:
How to assign user rights
How to use the Fleet Installer
- Navigate to [System -> Import and export -> V2 update -> Fleet Installer], where you will find a list of the currently available HotFixes.
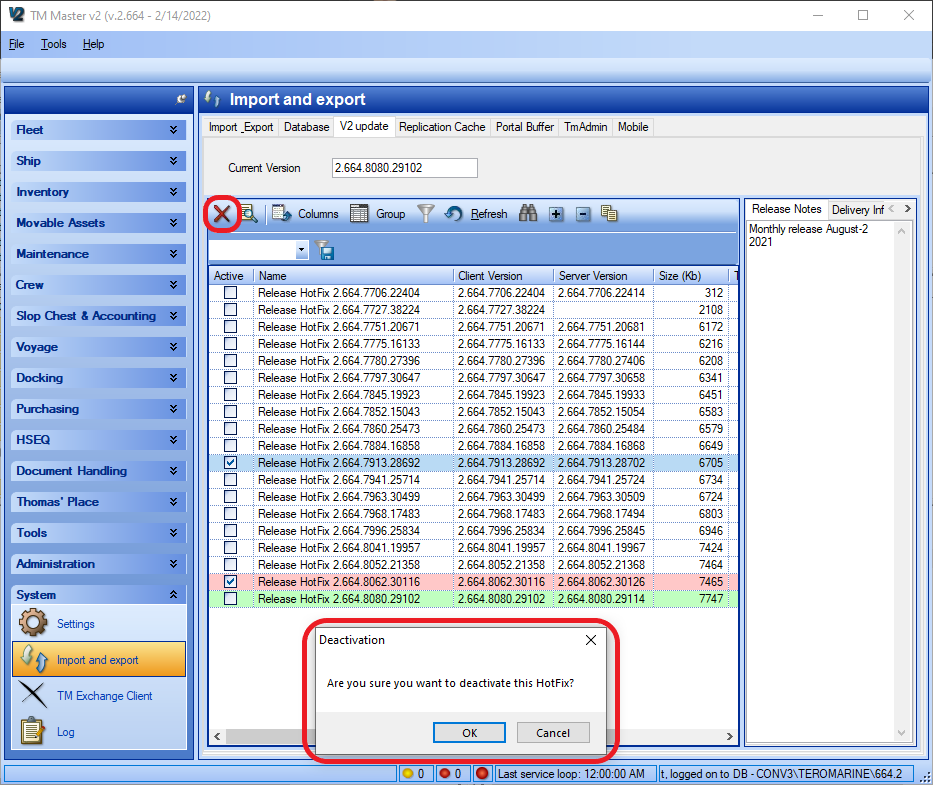
- (OPTIONAL) If you already have one or more earlier versions active we recommend deactivating these in ascending order before activating the new version. This ensures that you avoid unintended downgrades in your fleet. To deactivate an earlier version you mark it, click the red cross on the toolbar, and select "OK". This will remove the relevant hotfix file from the upgrade folder, ensuring that no users will be asked to install it upon startup.
- Mark the HotFix you want to distribute and deploy by left clicking it and then click the green check mark on the toolbar. (Please note that you can jump directly to any higher HotFix version.)
-
Select which units you want to distribute and deploy the HotFix to and click the "Activate" button.
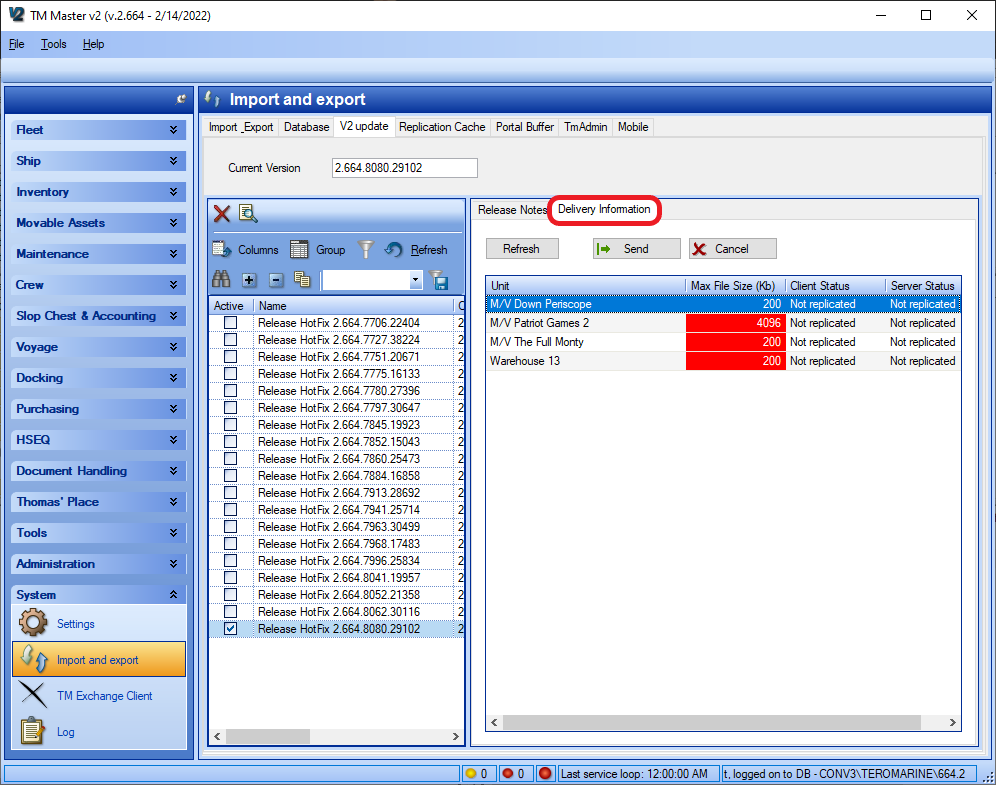
Explanation of the columns:
- "Max File Size (Kb)" is the maximum document replication size that is set for the unit. If this is lower than the size of the HotFix files for any of the units then the field will be red. You are still able to bypass the limitation and force the HotFix files to be transferred to the selected units.
- "Do Replication" shows which units are replicating and which are not. The HotFix will only be distributed and deployed to units that are replicating. -
If any of the selected units have a "Max File Size (Kb)" setting that is lower than the size of the HotFix files you will be met with the following dialog:
Press "Yes" to continue and force the HotFix distribution and deployment to all selected units regardless of "Max File Size (Kb)" setting. -
The HotFix files will now download from Tero Marine's servers as indicated by the "Downloading" progress bar.
-
Once the download is finished you will be informed that the HotFix is activated (this means the distribution and deployment process to the units has begun), and asked if you want to also install the HotFix on your local TM Client. If you select "Cancel" here it will only stop the local HotFix installation, and not affect the distribution and deployment to the units.
-
How long the distribution and deployment process will take depends on the internet connectivity of the unit. You can track the delivery status to each unit under the "Delivery Information" tab.
-
You can also track which version the units were running during their last replication interval by going to [Fleet -> Units] and looking at the "V2 version" and "V2 Service version" columns.


Additional Information
- The color coding is as follows:
- White: An inactive version
- Green: The TM Client version currently running
-
Red: An active version that is not the most recent
- We recommend only having the most recent version version active in the fleet installer to avoid unintended downgrades.
Thomas - TM Support
Comments